Why Choose Epoxy Flooring for Your Murrells Inlet Home?
Epoxy flooring is gaining popularity among homeowners in Murrells Inlet, South Carolina, thanks to its durability, aesthetic appeal, and ease of maintenance. Whether you're looking to upgrade your garage, basement, or any living space, epoxy flooring offers a seamless and elegant finish that can enhance the value and functionality of your home. In this guide, we'll walk you through the basics of epoxy flooring and how you can start your DIY project with confidence.
Understanding the Basics of Epoxy Flooring
Epoxy flooring is a surface made from multiple layers of epoxy resin applied to a floor base. This creates a hard, robust surface that is resistant to wear and tear. It's a popular choice for both residential and commercial properties due to its:
- Durability: Highly resistant to damage from heavy foot traffic, chemicals, and stains.
- Aesthetics: Available in a variety of colors and finishes to match any interior design.
- Maintenance: Easy to clean and resistant to bacteria and mold.
- Cost-effectiveness: Long-lasting and less expensive over time compared to other flooring options.
Step-by-Step Guide to Installing Epoxy Flooring
Step 1: Gather Your Materials
Before starting your epoxy flooring project, ensure you have the necessary materials and tools:
- Epoxy resin and hardener
- Concrete cleaner and etcher
- Paint rollers and brushes
- Protective gear (gloves, goggles, mask)
- Bucket and mixer for the epoxy
- Concrete patching compound (if needed)
Step 2: Prepare the Surface
Preparation is key to a successful epoxy flooring application. Follow these steps to prepare your floor:
- Clean the Surface: Use a concrete cleaner to remove dirt, grease, and oil.
- Etch the Concrete: Apply a concrete etcher to create a rough surface for the epoxy to adhere to.
- Repair Any Imperfections: Use a concrete patching compound to fill cracks or holes.
- Ensure the Surface is Dry: Wait for the surface to dry completely before proceeding.
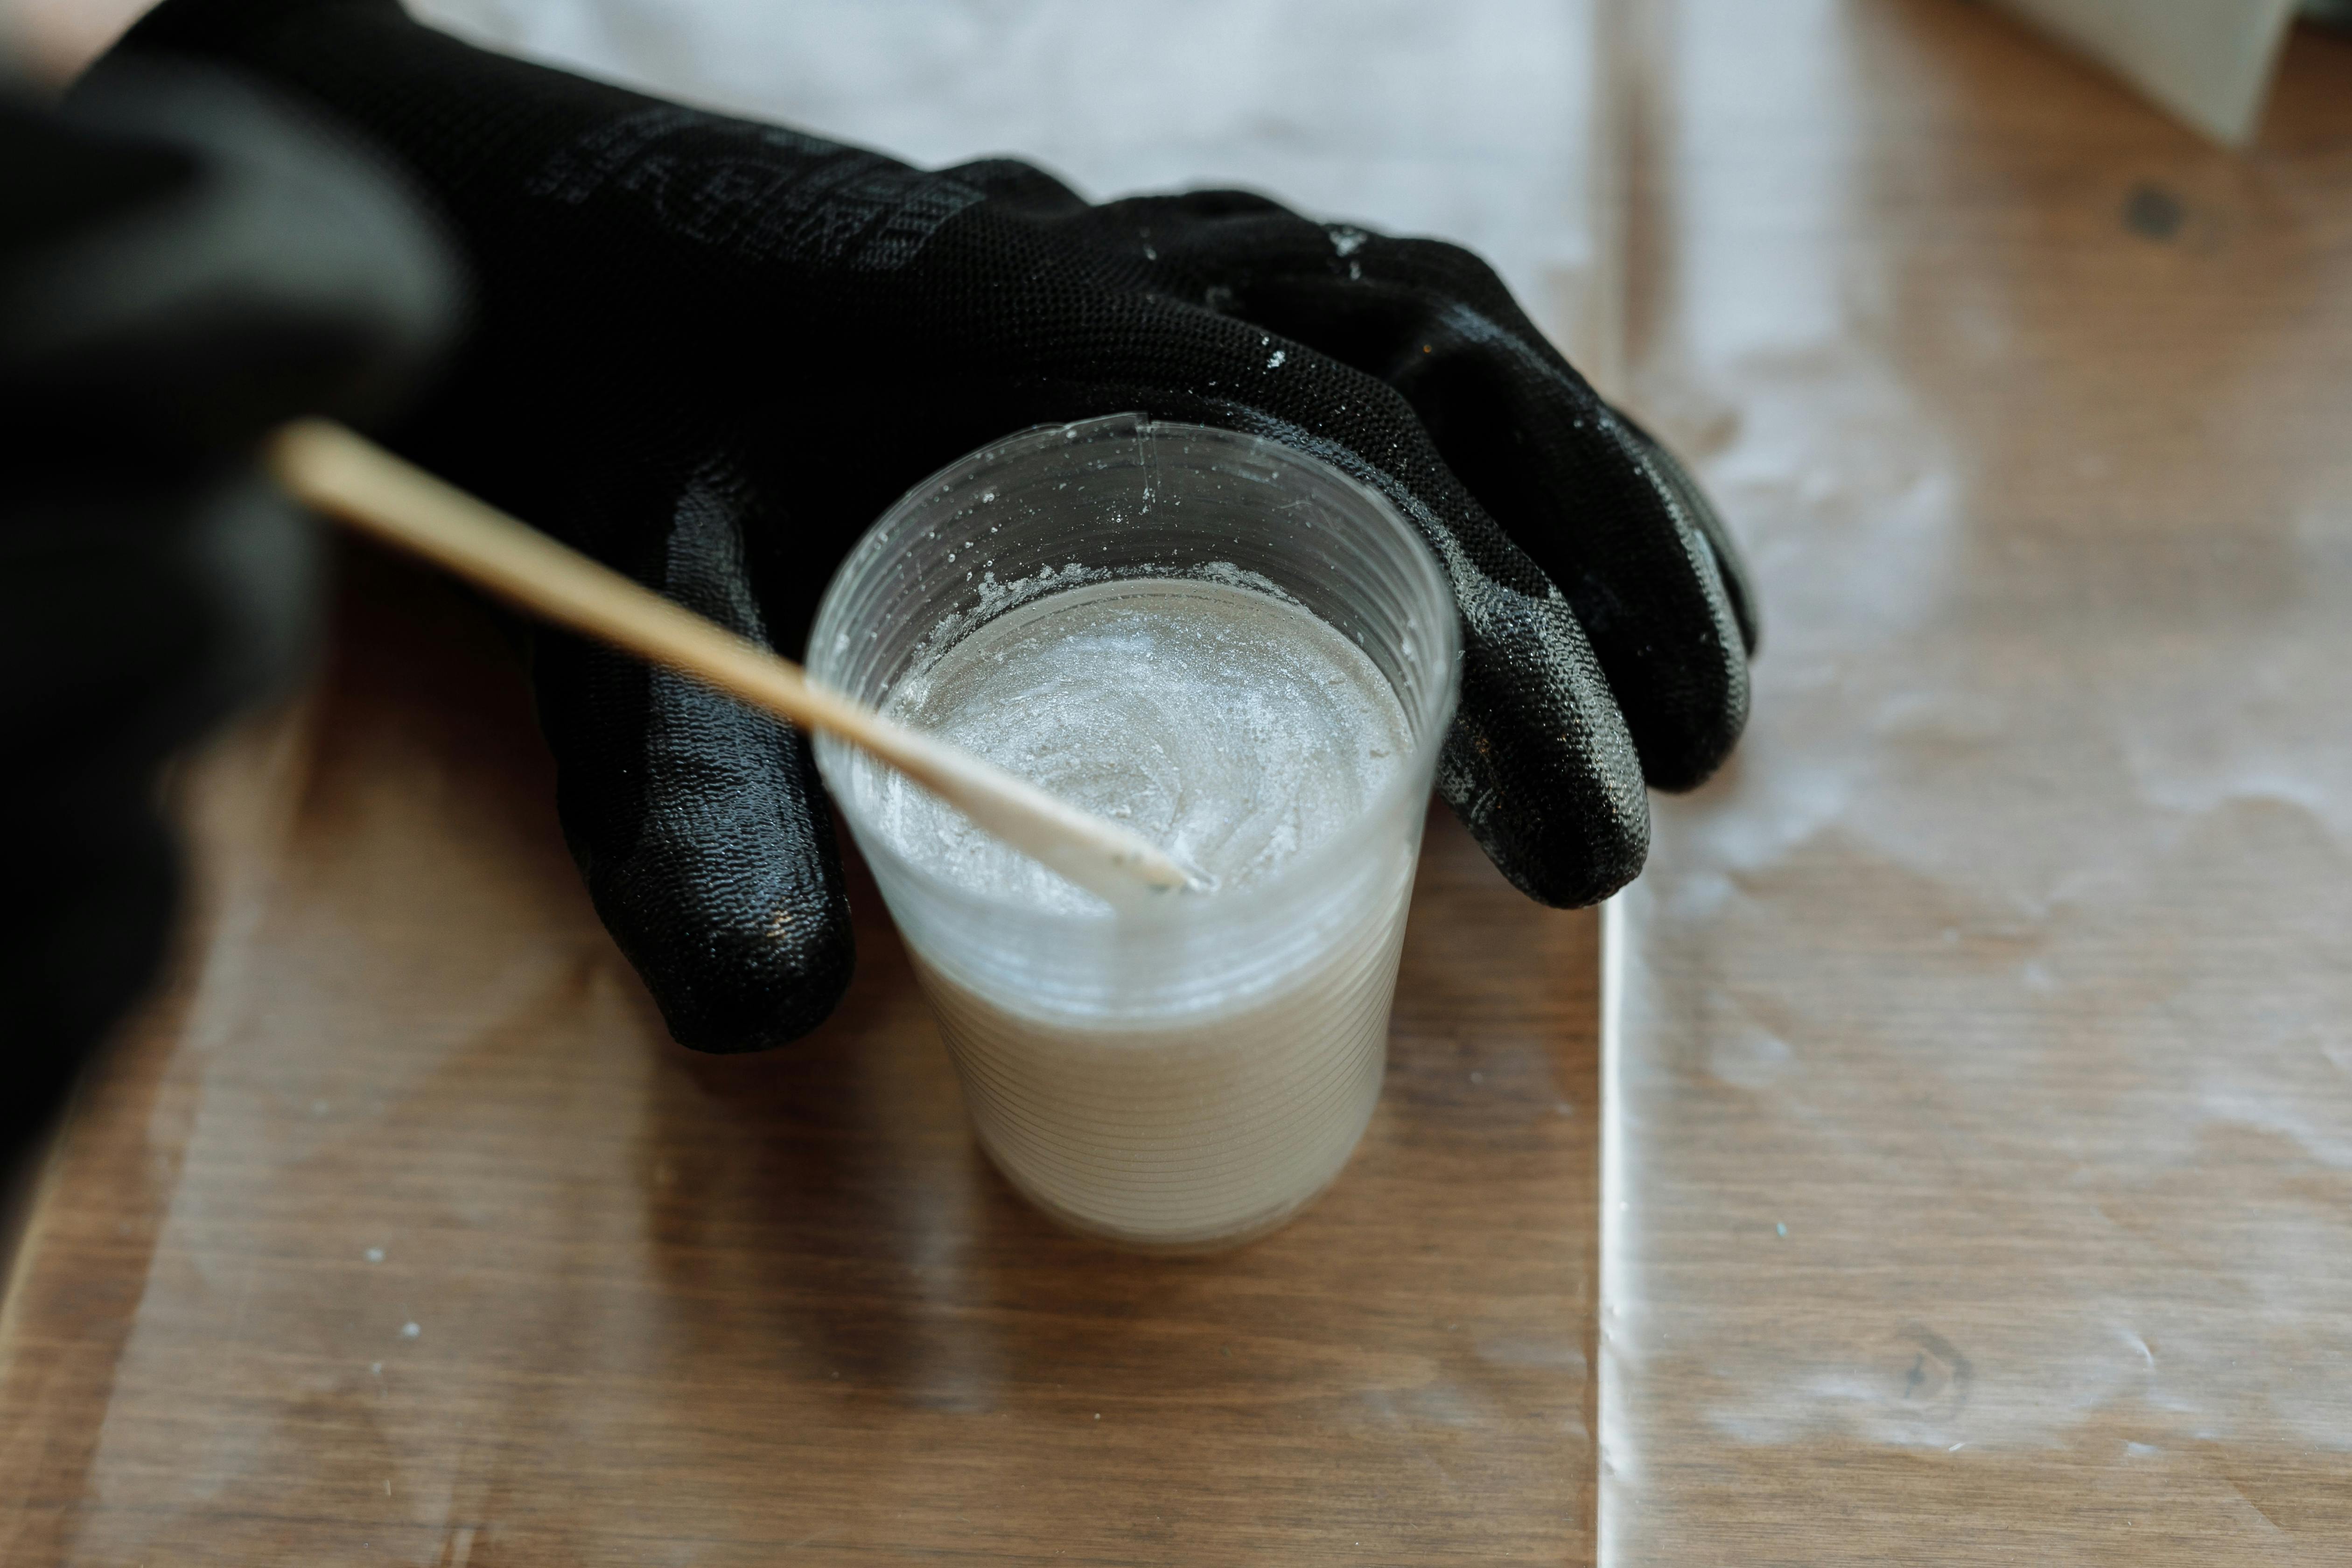
Step 3: Mix the Epoxy
Mixing the epoxy resin and hardener correctly is crucial. Follow the manufacturer's instructions for the best results. Use a bucket and a mixer to combine the components until the mixture is uniform.
Step 4: Apply the Epoxy
Once your epoxy is ready, it's time to apply it to the prepared surface:
- Start from the Furthest Corner: Begin applying the epoxy from the furthest corner of the room and work your way towards the exit to avoid stepping on wet epoxy.
- Use a Roller: Use a paint roller to spread the epoxy evenly across the surface. Ensure even coverage and avoid pooling.
- Apply Multiple Coats: Depending on your desired finish, you may need to apply more than one coat. Let each coat dry before applying the next.
Step 5: Allow to Cure
After the application, allow the epoxy to cure. This can take up to 72 hours, depending on temperature and humidity levels. Ensure the area is well-ventilated during this time.
Benefits of Professional Installation
While DIY epoxy flooring can be rewarding, hiring a professional service like Epoxico Seamless Flooring in Murrells Inlet guarantees a flawless finish. Professionals have the experience, tools, and knowledge to tackle any challenges that may arise, ensuring your floor is both beautiful and long-lasting.
Conclusion
Transforming your Murrells Inlet home with epoxy flooring is a fantastic way to enhance your living space. Whether you choose to tackle this project yourself or opt for a professional service, the results are sure to impress. With the right preparation and application, your new epoxy floor will provide years of durability and style.
For more information or professional assistance, consider contacting Epoxico Seamless Flooring, the local experts in Murrells Inlet dedicated to providing top-notch epoxy flooring solutions.